How to Do Makeup for Beginners: The Contour-and-Glow Approach to Natural Makeup for Black Women

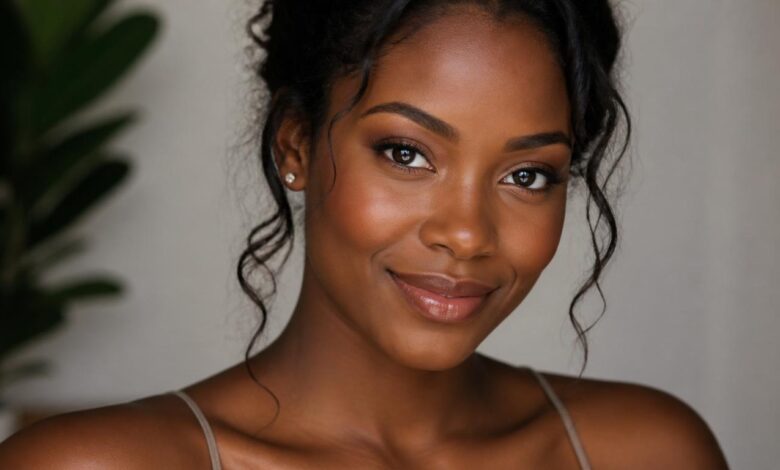
There’s more than one way to master your beat! This guide takes a different angle on how to do makeup for beginners, zooming in on the contouring, highlighting, and product tricks that make natural makeup for Black women look effortless — straight from the techniques celebrity makeup artists actually use.
Alright, let’s pick up where a lot of beginner guides leave off. Sure, foundation matching gets all the attention, but here’s a little secret: the real magic behind natural makeup for Black women often happens after the base is done — in the contouring, the highlighting, and the small finishing touches that make skin look lit from within rather than flat. If you’ve ever wondered how celebrity makeup artists get that sculpted-yet-soft look on their clients, you’re about to find out!
This guide takes a slightly different route through how to do makeup for beginners than your typical “step 1, step 2” tutorial. Instead, we’re zooming in on dimension, technique, and the little tweaks that make the biggest visual difference. Grab your brushes, and let’s go!
Why Dimension Matters More Than Coverage
Here’s a mistake a ton of beginners make: they assume a flawless look means piling on more foundation. In reality, dimension — the interplay of light and shadow across your face — does way more heavy lifting than coverage ever will. That’s especially true for natural makeup for Black women, since deeper skin already reflects and absorbs light beautifully once it’s guided in the right direction.
Celebrity makeup artist Keita Moore, who’s worked with major clientele, explains that for deeper skin tones, he goes warmer around the perimeter of the face and into the contours, which mimics the way natural sunlight hugs the skin and adds a sun-kissed, sculpted finish. That’s a totally different philosophy from cool-toned, ashy contour shades that were the industry default for way too long. So instead of thinking “how much product do I need,” start thinking “where does light naturally hit my face, and where does it naturally fall into shadow?”
Step-by-Step: Contouring Without Looking Overdone
Contouring sounds intimidating, but honestly, it boils down to a pretty simple concept once you break it down. There are two main approaches worth knowing as a beginner, and neither one requires professional-level skill to pull off.
- Traditional contouring: Adds warmth and shadow to the cheekbones, temples, and jawline using a bronzer or contour shade one to two tones deeper than your natural skin tone. Beauty experts note this should focus on areas where shadows occur naturally, rather than creating harsh, obvious lines.
- Reverse contouring: Instead of adding shadow, this technique highlights the high planes of the face — bridge of the nose, inner forehead, and under the cheekbones — using a lighter concealer shade, which many makeup artists consider a faster, more beginner-friendly option.
Whichever method you pick, blending is everything. Seriously — a poorly blended contour is the number one giveaway of a beginner, and there’s no shortcut around a good blending sponge or brush here. Take your time, use small circular motions, and don’t be afraid to build up gradually rather than going in heavy from the start.
Highlighting: The Secret Weapon for That Glow
If contouring adds shadow, highlighting adds light, and on deeper skin tones, this step genuinely transforms a look. Some makeup artists actually skip heavy contouring altogether in favor of strategic highlighting, since it tends to look more natural and creates an effortlessly radiant complexion.
Here’s where to focus your highlighter for maximum glow, minimum effort:
- Cheekbones – sweep it along the highest point for a lifted look.
- Bridge of the nose – just a touch adds subtle dimension.
- Cupid’s bow – makes lips look fuller without any extra product.
- Inner corners of the eyes – instantly brightens a tired-looking face.
Golden, bronze, and copper highlighters tend to complement warmer undertones beautifully, while those with cooler undertones often do better with rose gold or champagne shades that add shine without turning chalky. And a quick tip that trips up a lot of beginners: cream highlighters warmed between your fingertips before application tend to melt into the skin far more naturally than powder versions, especially for a dewy, natural finish.
Don’t Skip the Small Details
It’s easy to get so caught up in foundation and contour that you forget about the finishing touches — but these little details genuinely make or break how put-together a look feels.
- Brows: Well-groomed, defined brows frame the entire face, so don’t rush this step even if it feels tedious at first.
- Lips: For an everyday natural look, choose a shade slightly deeper than your actual lip color, and always line your lips first with a matching or slightly deeper liner. This prevents bleeding and gives bold colors serious staying power.
- Setting spray: A quick mist locks everything in place, especially important if you’re heading into a long day or a hot, humid environment.
None of these steps take more than a couple of extra minutes, but skipping them is exactly why some looks feel “almost there” instead of fully finished. Trust the process — it’s worth it!
Building a Beginner Kit That Actually Works
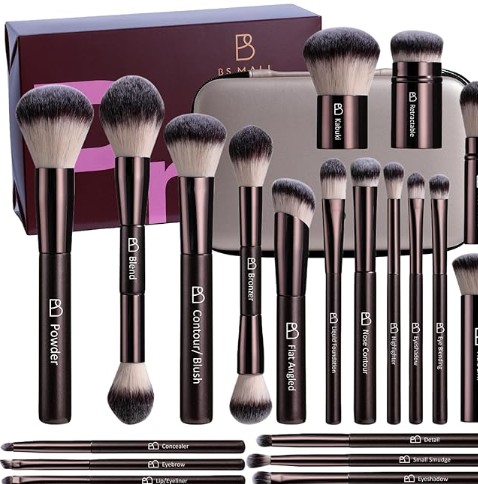
You don’t need forty products to get started; you genuinely just need the right handful. Here’s a lean starter list that covers everything discussed above:
- Cream contour and highlight sticks
- Warm-toned bronzer for deep skin
- Liquid or cream highlighter
- Angled brow brush and tinted gel
- Lip liner set in warm nudes
As always, swatch before you buy whenever you can, and give a new product a couple of wears before deciding whether it’s a keeper — first impressions under store lighting can be misleading!
Questions Beginners Always Ask
Do I need both contour and highlighter, or can I just pick one?
Not at all — plenty of makeup artists actually prefer highlighting alone on deeper skin tones because it looks more natural and less “done.” Start with highlighter only, and add contour later if you want more definition.
Why does my contour look muddy instead of sculpted?
This usually comes down to shade choice. Cool, ashy-brown contour shades tend to look muddy on warm or neutral undertones — switch to a warmer, richer bronzer instead.
How do I know if I have a warm or cool undertone for highlighter shades?
A simple trick? Check your veins — greenish veins usually mean warmer undertones (better suited to gold and bronze highlighters), while bluish veins point to cooler undertones (better suited to rose gold and champagne shades).
Is reverse contouring really easier than traditional contouring?
For most beginners, yes! It only requires two shades (your regular concealer and foundation) and skips the trickier blending of a separate contour product.
How long should a full natural makeup routine take once I get good at it?
Once you’ve practiced a bit, a full natural look with contour, highlight, and lips usually takes about 15 to 20 minutes — way faster than it feels when you’re first starting out!
Final Thoughts
At the end of the day, mastering natural makeup for Black women isn’t about following one rigid formula — it’s about understanding how light and shadow move across your unique face, and using that knowledge to enhance what’s already there. Whether you lean into contouring, highlighting, or a mix of both, the goal is always the same: skin that looks like it’s glowing from within, not covered up.
So don’t stress about getting it perfect right away. Practice a little each day, keep your kit simple, and before long, this whole process will feel like second nature. You’ve absolutely got this!